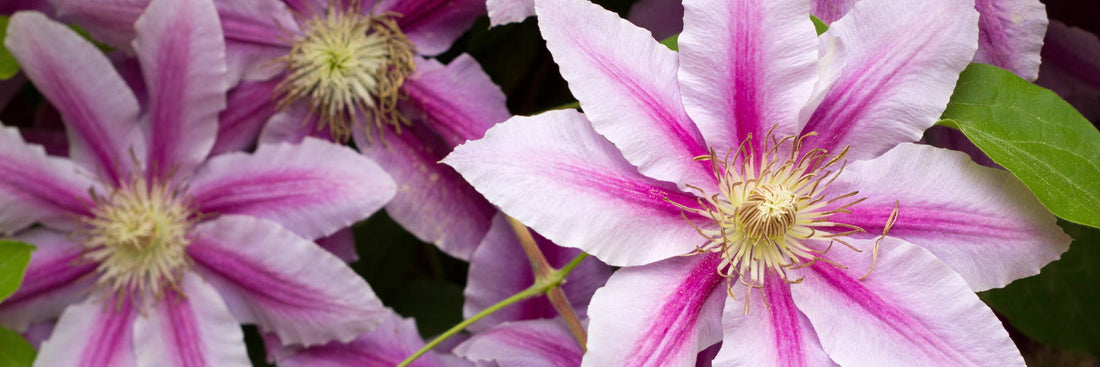
Clematis is a very versatile and easy to grow perennial vine. They come in many colors, sizes and bloom times. There are varieties with large flowers, small flowers, single or double petals, bell-shaped or tubular blooms. And in almost all cases, Clematis vines are not invasive. So you can grow them through other bushes without worrying about killing the plants.
Support
Since Clematis is a vine, it is usually grown on some kind of support (#1). Unlike some other vines, it is generally not an aggressive plant. Of course, they look beautiful growing on trellises, arbors, and fences, too. Since Clematis climb by twining their leaves around supports, and the stems aren’t very long, they have difficulty sticking to wood structures. To make it easy for them to climb, stretch some fishing wire or string across the growing surface which gives their leaf tendrils something thin to grab on to.
Although most gardeners don’t grow it this way, Clematis can also work well as a ground cover (in which case you don’t need any supports at all).
Planting
Although most guides say that Clematis is a full-sun perennial requiring at least 6 hours a day of sunshine, it may grow best in part shade because it really doesn’t like the heat of our summer afternoons.
There’s one other thing to keep in mind when choosing where to plant your Clematis. Clematis like cool roots! So you may want to pick a spot where the roots are shaded by other plants or structures, but the flowers are in the sun.
- Dig a hole that is about twice as wide and deep as the size of the pot.
- Mix some compost or peat and good top soil in with the soil that you dug out of the hole.
While not absolutely necessary, adding a scoop of bone meal to the mix will help the roots to get established.
- Fill the hole a little less than half way up with your soil mixture.
- Plant your new Clematis so that a couple of inches of the stem is buried in the ground. This will also help the plant establish strong roots.
- Tilt the stem at about a 45 degree angle toward whatever support you are using. This will make it easier to get it to grow where you want it.
- Then fill the rest of the hole up with your soil mixture and water well.
- Cover the soil around the base of the plant with a thick layer of mulch (making sure that it isn’t touching the stem).
If your new plant has a lot of growth on the top, prune it down to about 18″ tall. This will allow the roots to get established without having to support so many leaves and flowers which will promote a healthier plant.
Growing
Clematis can take a couple of years to really become established, but once they do, they pretty much take care of themselves if you follow these guidelines:
- Soil Conditions
One of the most important parts of Clematis care is to make sure you have well-drained but moist soil to grow the plants in. Their roots can rot if they are too wet, and the leaves will fall off if it is too dry. Clematis also prefer neutral to alkaline soil.
- Watering
Watering regularly is a necessity for good-looking Clematis plants and flowers, especially during the heat of the summer. As mentioned above, not having enough water will cause the leaves to dry up and fall off leaving a very unhappy looking plant.
- Mulch
Mulch is the easiest way to prevent the roots of your Clematis from overheating. And it also helps to keep the soil moisture from evaporating (which helps with that water requirement). Every spring, cover the base of all of the plant with a 3″ to 4″ thick layer of mulch making sure that it doesn’t touch the stems (which can cause them to rot).
- Fertilizing
With all of those big blooms, Clematis needs a lot of nutrients from the soil. Fertilizing in the spring and the fall will help to keep them healthy and blooming. If you prefer to use chemical fertilizer, use one with less Nitrogen and more Phosphorus (10-30-20 mixture- Bloom Booster) in the spring to promote blooms. In the fall, add an evenly balanced fertilizer (10-10-10 or 20-20-20- #2 PW Water Soluble Plant Food).
Pruning
Pruning seems like the most complicated part of Clematis care since different types should be pruned at different times. The trick is to find out what type of Clematis you have so that you know when and how to prune it. Clematis plants are generally divided into 3 groups, not very creatively named – group 1, group 2 and group 3. The group that your variety falls in determines its pruning procedures.
Group 1 Clematis have the following characteristics:
- flower in early spring
- has bell-shaped or small saucer-shaped flowers
- blooms on last year’s shoots
Group 1 should be pruned after they have bloomed to remove dead or damaged stems, and shorten the stems (if necessary), but do not need extensive annual pruning.
Group 2 Clematis have the following characteristics:
- flowers in late spring and summer
- has large-sized flowers
- blooms on both last year’s growth and this year’s new shoots
Pruning for group 2 should be done in early spring to trim stems just above strong buds (and to remove any dead or damaged stems).
Do not cut all the way back or you will reduce the number of flowers that you will get later.
Group 3 Clematis have the following characteristics:
- flowers in summer or fall
- has large-sized flowers
- blooms on this year’s growth
To prune group 3, cut the vines back to within 8 inches of the ground in early spring before new growth starts.
Fertilizing
Use # 2 PW Premium Water Soluble Plant Food once per week during the active growing season. Always try to apply liquid fertilizer in the morning and not during the hot midday sunshine.
#3 PW Premium Continuous Release Plant Food slow release fertilizer is great for supplemental feeding used in conjunction with liquid fertilizers. Always follow label rates.